| Basics
of Coordinate Metrology Unit 7: Structure of Coordinate Measuring Machines - Rotary Table |
Digression |
|
| A
removable or built-in rotary table can substantially widen the range of
application of coordinate measuring machines. Especially measurements on
round and symmetrical parts, such as camshafts, screw compressors and
toothed gears, are made easier and quicker. The use of a rotary table also offers a series of advantages when measuring prismatic parts:
Note: Many coordinate measuring machines with integrated rotary table acquire the measurement data directly in a cylindrical coordinate system. |
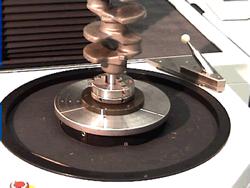
 Crankshaft on the rotary table from Primar, Mahr |
||||||
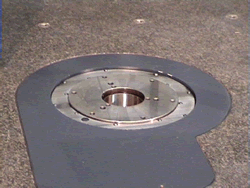
 Rotary table from UPMC, Zeiss |